Think of layers like transparent sheets. Each layer can have different parts of your design, like images, text, or shapes. This helps you change one part without affecting the whole design!
Tip: You can hide layers, change their brightness, or blend them together to create cool effects.
To Subscribe our channel click here
1. Introduction to Layers
- What Are Layers?
- Layers are like transparent sheets stacked on top of each other. Each sheet holds a different element (image, text, shape), allowing you to edit them independently without affecting others.
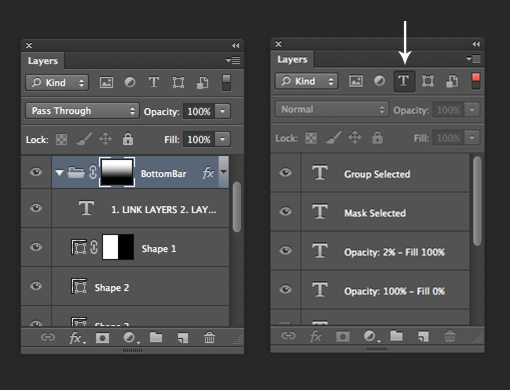
- The Layers panel is where you manage these layers.
2. Creating a New Layer
- How to Add a New Layer:
- Go to the Layers panel (usually on the right side).
- Click the New Layer icon at the bottom (a square with a folded corner).
- Or, use the shortcut Shift + Ctrl + N (Windows) / Shift + Command + N (Mac).
- Types of Layers:
- Image Layer: For photos or graphics.
- Text Layer: For adding text.
- Shape Layer: For adding shapes.
3. Working with Shapes
- Using the Shape Tool:
- Select the Shape Tool (U) from the toolbar.
- Choose from different shapes like Rectangle, Ellipse, Polygon, Line.
- Click and drag on the canvas to draw the shape.
- Shape Layers:
- When you draw a shape, it automatically creates a new Shape Layer in the Layers panel.
- Each shape is fully editable: color, size, stroke, and more.
4. Editing Shapes
- Resizing a Shape:
- Select the Move Tool (V) and click on the shape layer.
- Hold Shift to maintain proportions while resizing.
- Changing Shape Color:
- Double-click the shape layer thumbnail in the Layers panel.
- Use the Fill option to change the color.
- Adding Stroke or Effects:
- In the Layers panel, double-click the shape layer to open the Layer Style options.
- Add a stroke, shadow, glow, or other effects to make your shape stand out.
5. Layer Organization
- Grouping Layers:
- Select multiple layers (hold Shift and click).
- Right-click and choose Group Layers to organize them into one folder.
- Locking Layers:
- If you don’t want a layer to be accidentally moved or edited, click the lock icon on the layer in the Layers panel.
- Layer Visibility:
- Click the eye icon next to a layer to hide or show it.
6. Layer Blending Modes
- What Are Blending Modes?
- Blending modes control how layers interact with each other. You can find them in the top of the Layers panel.
- Some common modes are Multiply, Screen, Overlay, which create different effects based on the layers beneath them.
7. Using Layer Masks
- What Is a Layer Mask?
- A layer mask allows you to hide parts of a layer without permanently deleting anything.
- To add a mask: Select the layer, then click the Add Layer Mask button at the bottom of the Layers panel (a rectangle with a circle inside).
- Paint on the mask with black to hide areas and white to reveal them.
8. Duplicating Layers
- How to Duplicate a Layer:
- Select the layer in the Layers panel.
- Press Ctrl + J (Windows) / Command + J (Mac) to duplicate it.
9. Combining Layers and Shapes
- Working with Multiple Layers:
- You can combine text, images, and shapes on different layers, allowing you to adjust each one independently.
- For example, move a text layer above a shape layer to place it on top.
10. Final Tips and Tricks
- Shortcuts to Speed Up Your Workflow:
- Ctrl + Shift + N / Cmd + Shift + N to create a new layer.
- Ctrl + T / Cmd + T to transform (resize, rotate, etc.) the selected layer.
- Use Ctrl + Alt + G / Cmd + Option + G to create a clipping mask, linking two layers together.
- Hide Layers:
- If you have too many layers, hide some by clicking the eye icon next to each layer to reduce clutter.